Using Chocolatey Templates
This is a bit of a following up to the previous post, A Quick Chocolatey Packaging Walkthrough. In this post we’ll walk through making a template that can simplify and accelerate your package creation process. Get your Powershell prompt ready!
Prerequisites
- Chocolatey installed on your machine
- A code editor, in my case Visual Studio Code
Steps
- Open you Powershell prompt, preferably as Administrator.
- Type
$env:ChocolateyInstall. Example:
PS C:\Users\matthew\Downloads> $env:ChocolateyInstall
C:\ProgramData\chocolatey
So, my chocolatey install is in C:\ProgramData\chocolatey by default. Create a templates directory at the end of that path.
PS C:\ProgramData\chocolatey> new-item -type directory -path C:\ProgramData\chocolatey\templates


    Directory: C:\ProgramData\chocolatey


Mode                 LastWriteTime         Length Name
----                 -------------         ------ ----
d-----         9/28/2020   6:20 AM                templates


PS C:\ProgramData\chocolatey>
-
Now that we have a template directory, lets create a template. Change to/create a work directory to make a new chocolatey module, then type
choco new simple. This will create a package called ‘simple’. -
Now that we have our new package, let’s do some cleanup. Open the folder in your text editor of choice. Open
simple.nuspecand remove all the commented out lines. Then do the same fortools/chocolateyinstall.ps1.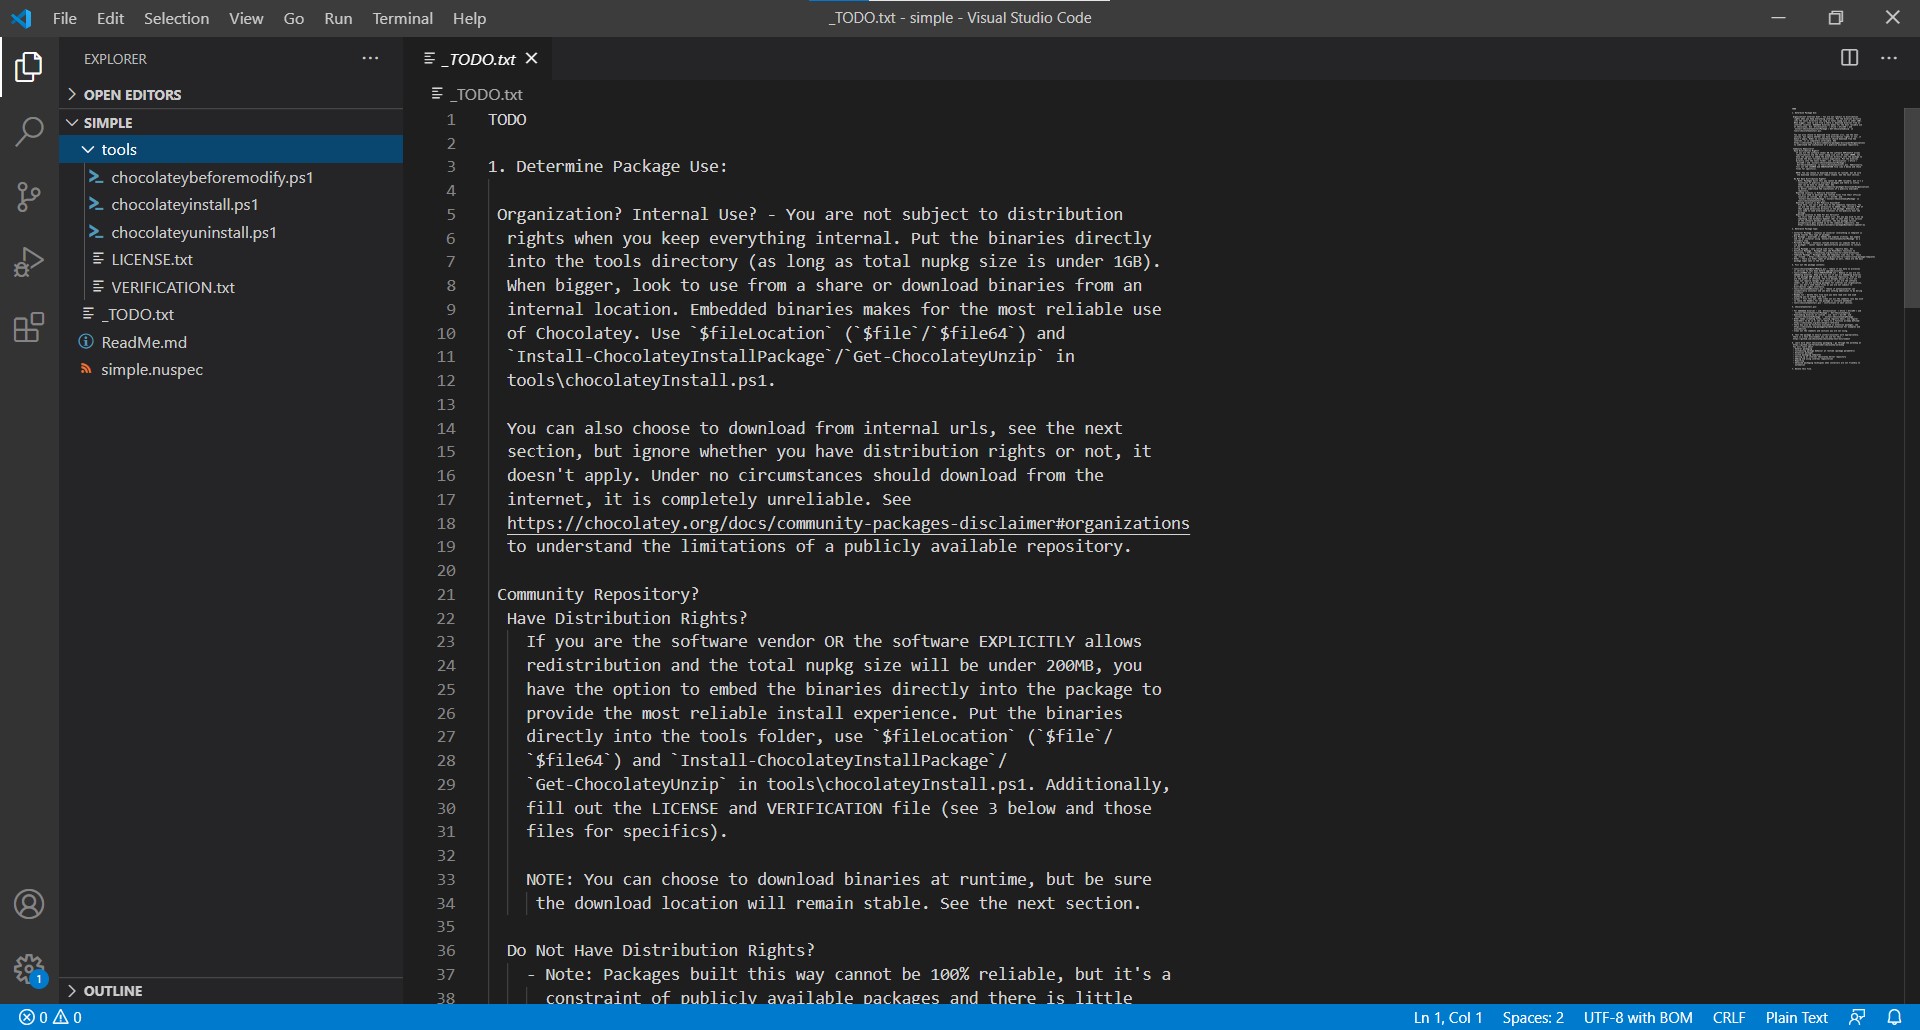
-
For the fields you want to template in both files, remove the blank or default option with
[[NAME]], for example, set$packageNameto[[PACKAGENAME]]. Here are examples of both files that I’ve done already.
tools/chocolateyinstall.ps1
$ErrorActionPreference = 'Stop'; # stop on all errors
$toolsDir   = "$(Split-Path -parent $MyInvocation.MyCommand.Definition)"
$url        = '[[Url]]' # download url, HTTPS preferred
$url64      = '[[Url]]' # 64bit URL here (HTTPS preferred) or remove - if installer contains both (very rare), use $url

$packageArgs = @{
  packageName   = $env:ChocolateyPackageName
  unzipLocation = $toolsDir
  fileType      = 'MSI' #only one of these: exe, msi, msu
  url           = $url
  url64bit      = $url64

  softwareName  = '[[PackageName]]*' #part or all of the Display Name as you see it in Programs and Features. It should be enough to be unique

  checksum      = ''
  checksumType  = 'sha256' #default is md5, can also be sha1, sha256 or sha512
  checksum64    = ''
  checksumType64= 'sha256' #default is checksumType

  # MSI
  silentArgs    = "/qn /norestart /l*v `"$($env:TEMP)\$($packageName).$($env:chocolateyPackageVersion).MsiInstall.log`"" # ALLUSERS=1 DISABLEDESKTOPSHORTCUT=1 ADDDESKTOPICON=0 ADDSTARTMENU=0
  validExitCodes= @(0, 3010, 1641)
}

Install-ChocolateyPackage @packageArgs
simple.nuspec
<?xml version="1.0" encoding="utf-8"?>
<package xmlns="http://schemas.microsoft.com/packaging/2015/06/nuspec.xsd">
  <metadata>
    <id>[[PackageNameLower]]</id>
    <version>[[Version]]</version>
    <title>[[PackageName]] (Install)</title>
    <authors>Matthew Stone</authors>
    <projectUrl[[Url]]</projectUrl>
    <tags>[[PackageNameLower]]</tags>
    <summary>A templated package</summary>
    <description>A templated package</description>
  </metadata>
  <files>
    <file src="tools\**" target="tools" />
  </files>
</package>
-
Once that is done and everything is saved, copy this entire folder to c:\programdata\chocolatey\templates.
-
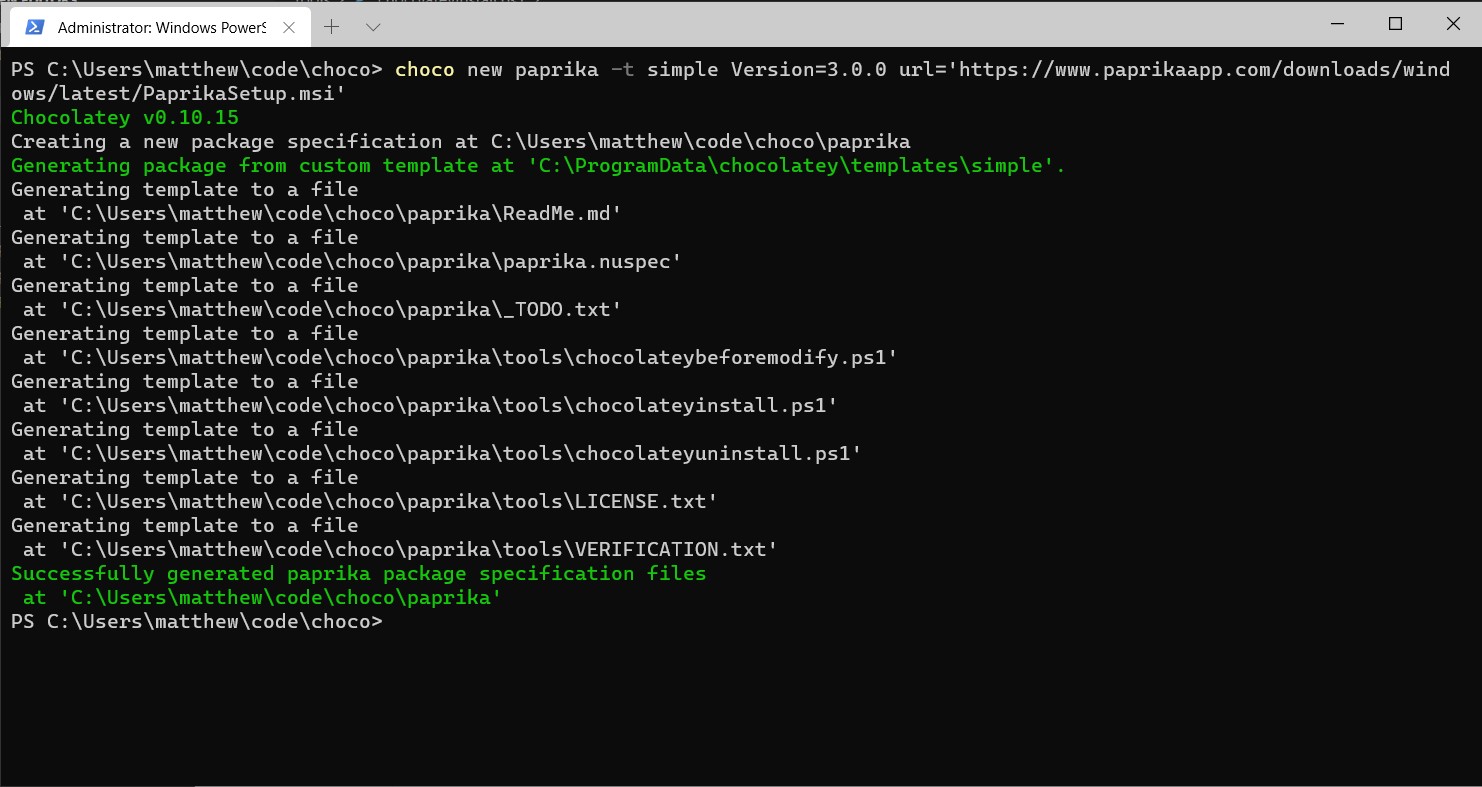
Now we can create a package using our custom template. As an example, I’ll use the paprika app from my previous post. I’ll add the package name, version and url at the command line like so:
-
Open the new package directory in your text editor. Check out what is now
paprika.nuspecand thetools/chocolateyinstall.ps1files and you will see those properties have been already filled out. Neat, yes? -
There’s still some work to do, like the checksum, the descriptions, summaries, etc… and you may need to tweak MSI installer options, but you’re beyond halfway there. How I’ve used templates in the past is to get a quick start on what we could define at 4-5 typical types of installations we’d be using in the organization. That way, you could just run the template for the type of file or install, say ZIP, EXE or MSI, and could dive right in to finishing touches vs. starting from scratch. Ranting aside, when you are done customizing here, you can run
choco packfrom the root directory of the project and you are all set~
Wrap Up
This was an incredible basic walkthrough templating and there’s just so much more you can do. However, I feel like I’d be wasting my breath as a lot of that has been covered in much more detail via a couple of doc links and blog posts. By all means, if templating is something important to you make sure to check out the following links for a) better docs on how to make and distribute templates and b) how Walmart is crushing it on simplfying the package creation process.